Creating sets
Ez a tartalom még nem érhető el a jelenlegi nyelven.
Create a new set
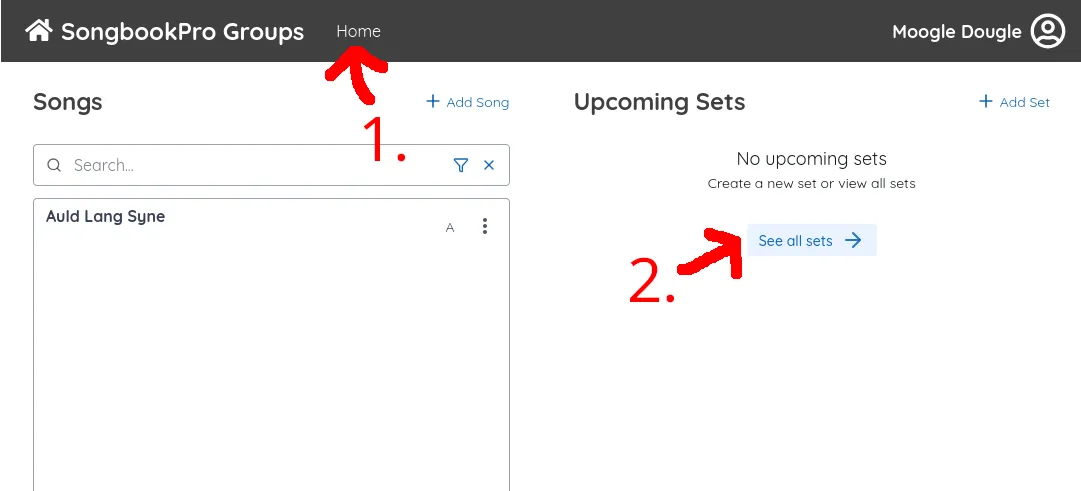
Section titled “Create a new set”You can get to the ‘Sets’ page by pressing the ‘Home’ button [1], then clicking ‘See all sets’ [2].
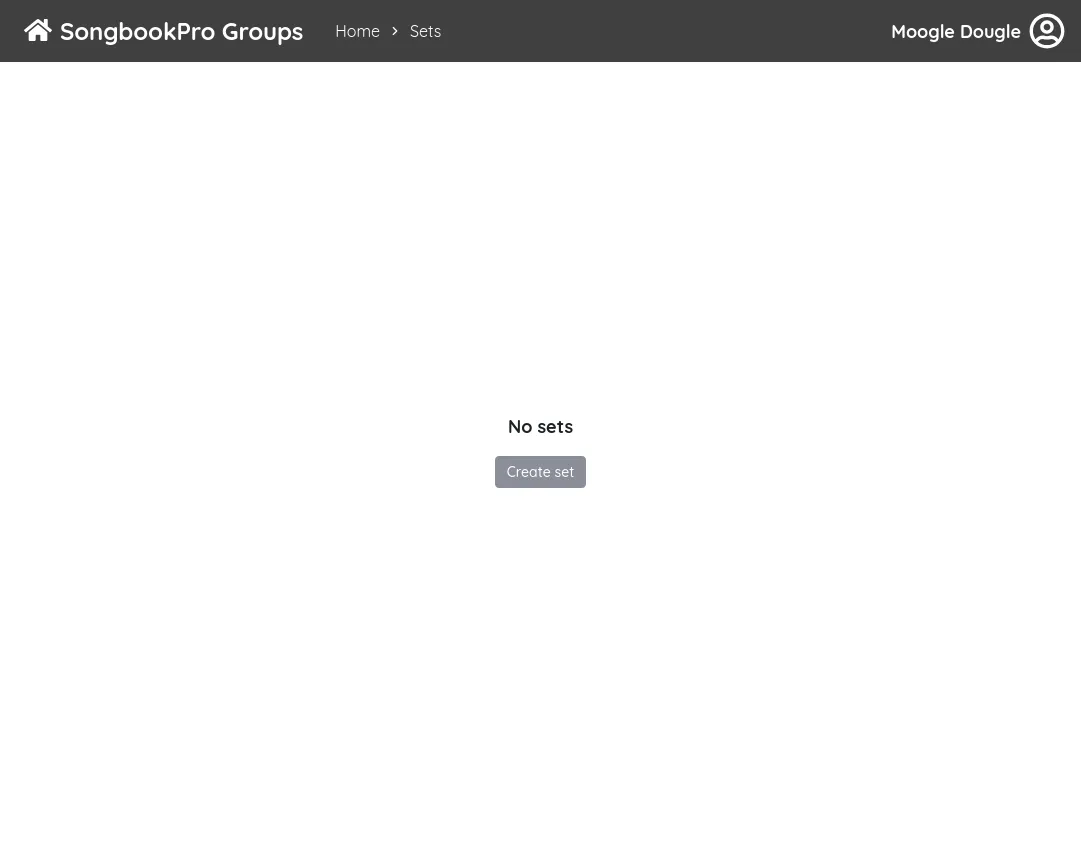
The first time you visit the ‘Set’ tab, you will be prompted to create a new set. Click the ‘Create set’ button to create a new set.
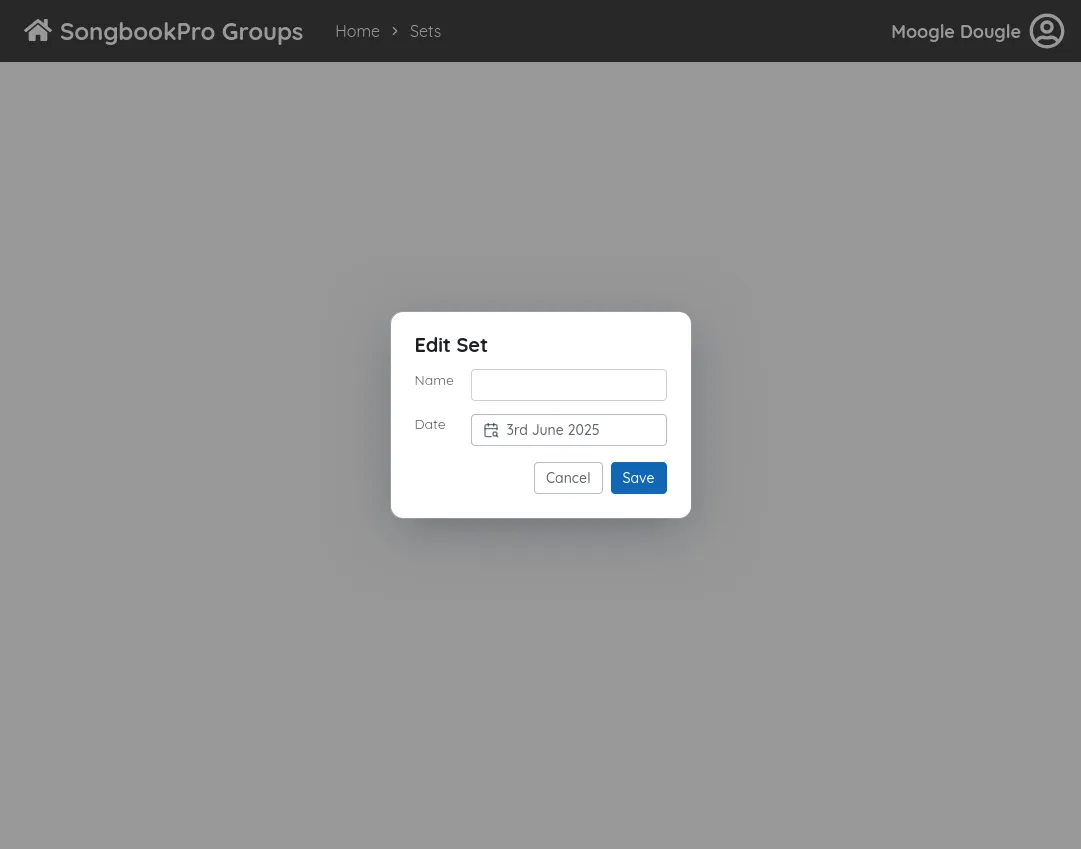
A dialog box will appear, asking you to enter a name and date for the set.
Add songs to a set
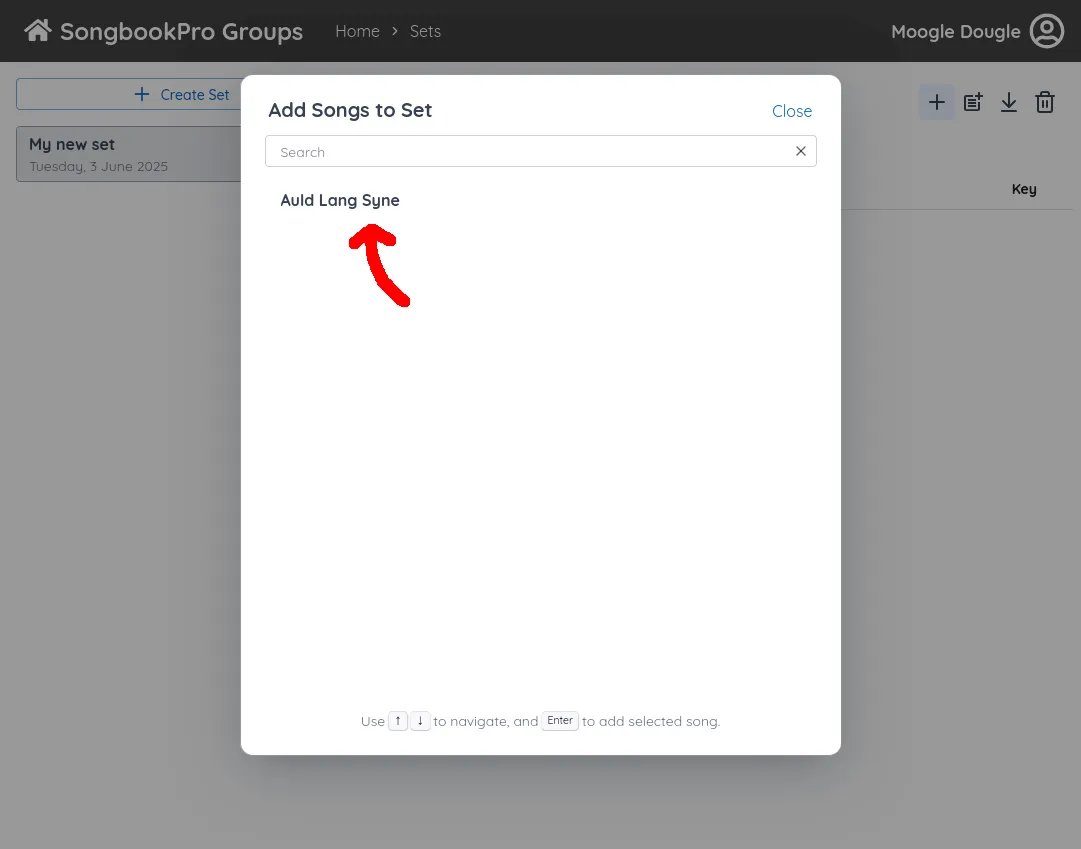
Section titled “Add songs to a set”To add songs to your set, click the ’+’ button at the top of the screen. A box will appear allowing you to select the songs you wish to add to the set.
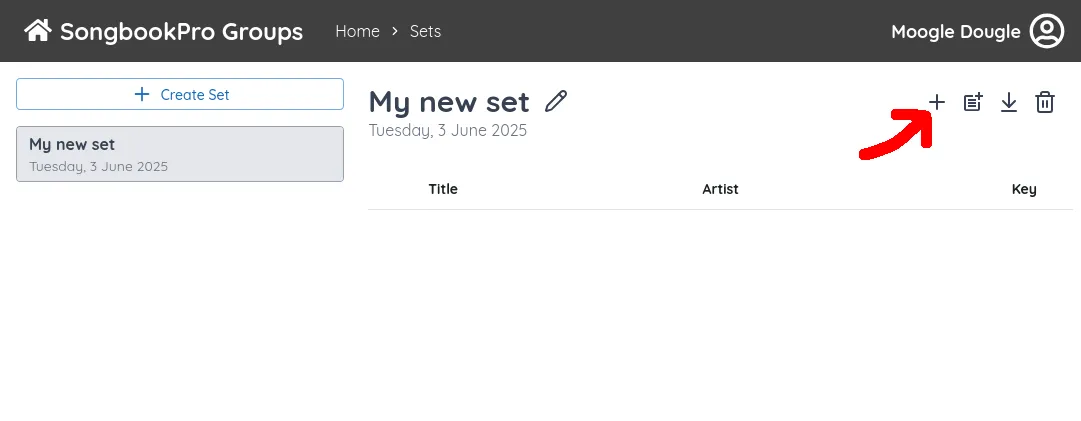
Select the song you would like to add to the set from the dialog window.
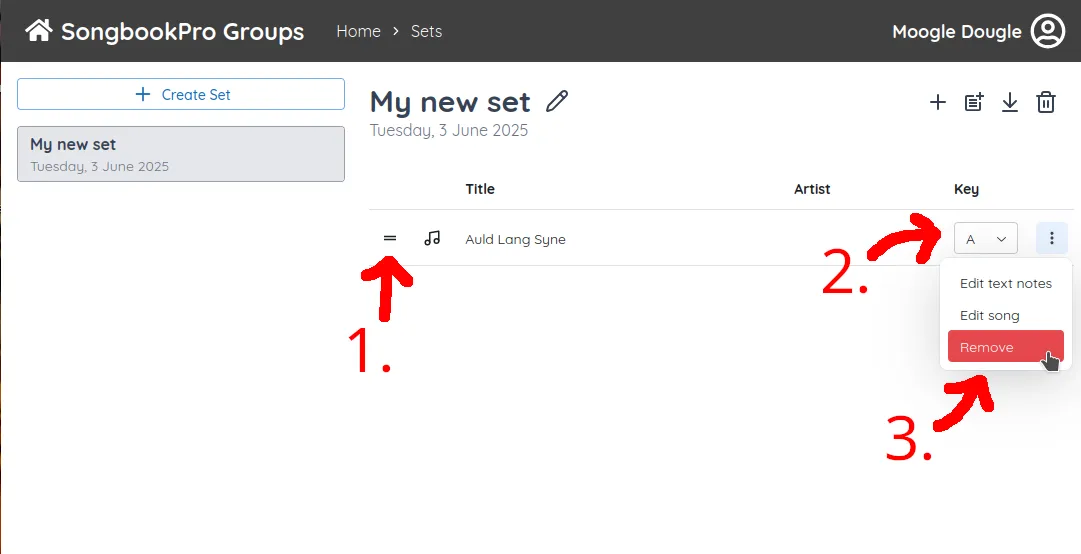
Once we have a few songs in our set, we can reorder them by dragging the handle [1] up or down. We can also change the key of the song with the dropdown menu [2] (text-based songs only). To see additional controls, such as removing the item from the set [3], click the ’⋮’ button.
